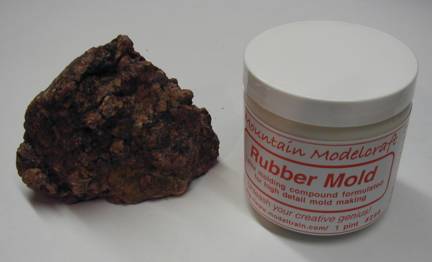
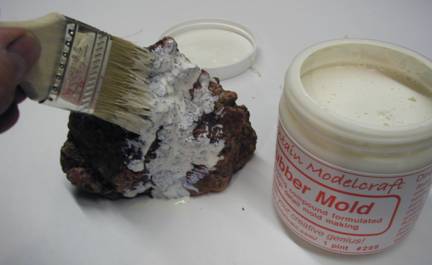
The first step is brushing a coat of rubber mold onto the rock or object to be molded. Make sure you cover everything.
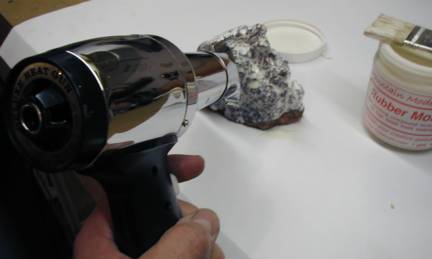
When using Mountain Modelcraft rubber mold you have the advantage of being able to speed up the drying time with a heat gun. It will take about 3 minutes to dry enough to recoat.
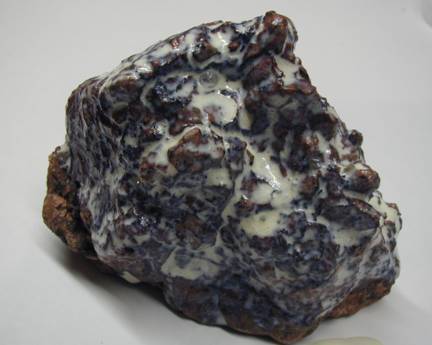
This is what it looks like when you can recoat. Notice the rubber mold has become somewhat transparent. You will need to apply six coats of rubber mold in the same manner.
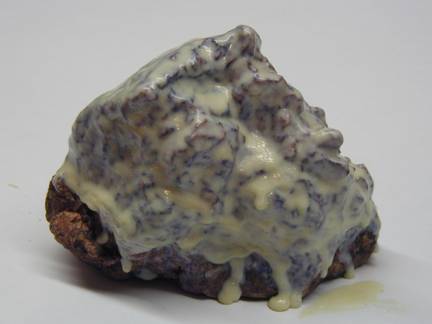
After 6 coats of rubber mold our project looks like this.
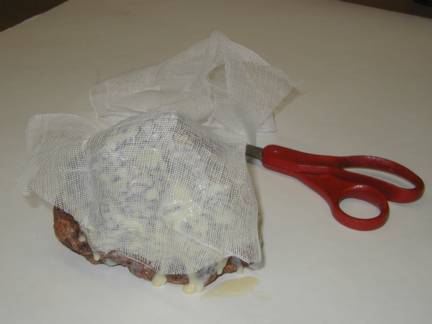
To strengthen the mold a layer of cheesecloth or gauze is cut and imbedded in the 7th coat.
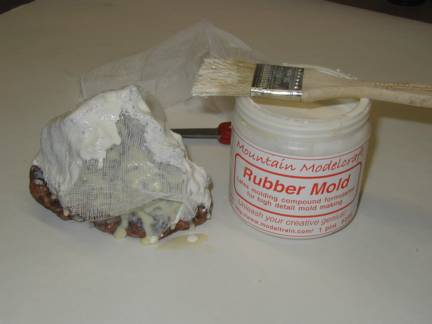
The rubber mold is brushed on, any pleats that form in the cheese cloth or gauze are easily laid down.
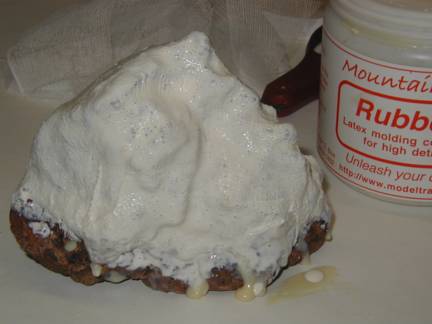
When you are satisfied that the cheese cloth or gauze is down tight and completely covered with rubber mold, let the mold dry for 24 hours.
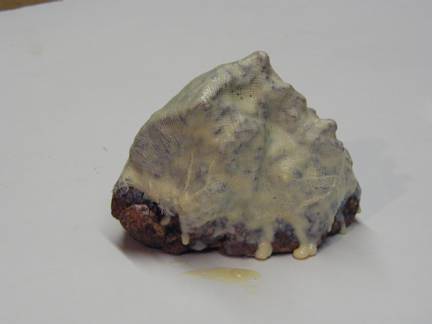
The mold is now dry and ready to remove.
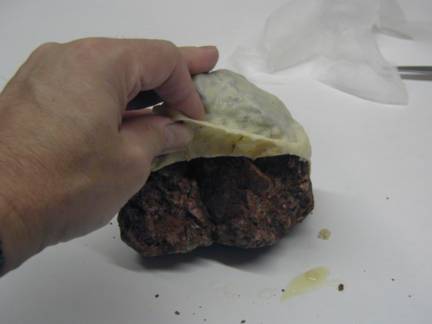
Carefully pull the rubber mold from the rock or object
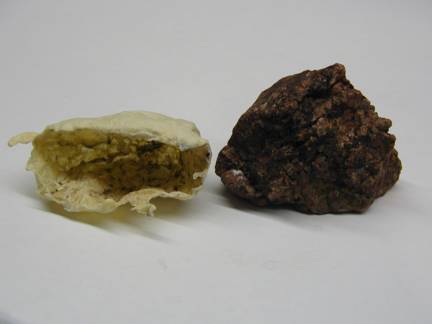
You'll notice the mold removed very cleanly from the rock.
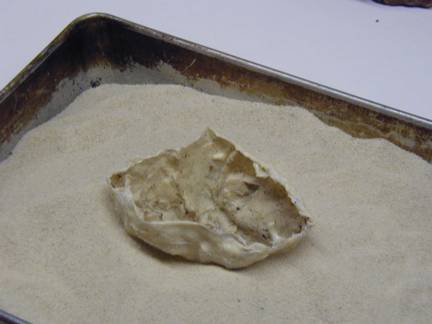
I like to bed my molds in sand when pouring. The sand helps prevent distortion from the weight of the plaster.
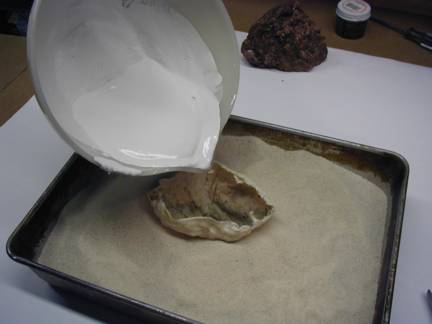
Molding plaster or plaster of paris is mixed to the consistency of pancake batter and poured into the mold. No release compounds are used.
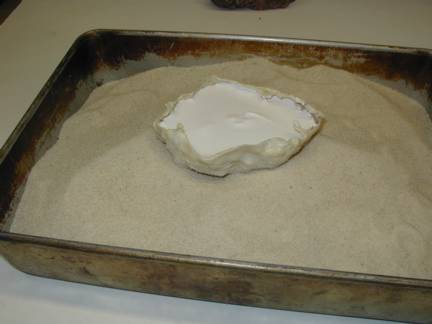
It will take about 45 minutes for the plaster to set up, make sure it is dry before you attempt to remove it.
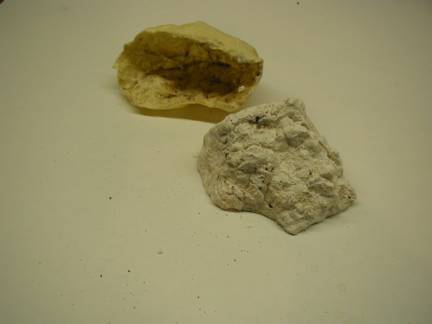
Pull the mold off the plaster, be careful not to damage it.
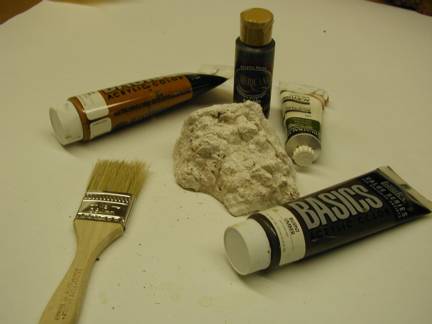
I do my painting with acrylic paints, they are widely available in many colors and clean up with water.
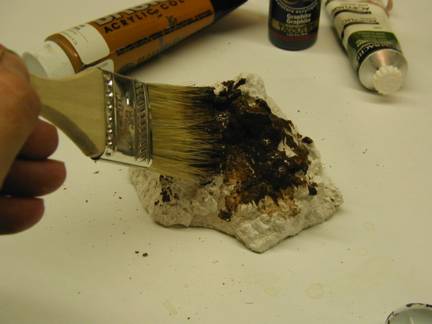
Apply the color you want with a wet brush. You will need to dip the brush in water several times as you work the paint into the cracks and cuts in the rock.
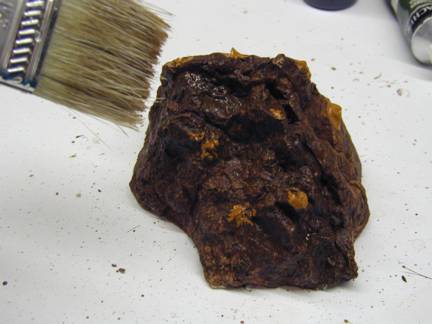
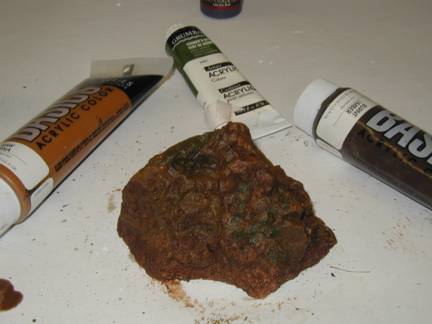
Add dots of contrasting color and blend them in with a wet brush. Mold making is a great project for kids, remember teaching others is very important!
Thanks for looking-- Dave Conrad